Color drenching a room means painting the walls, ceiling, and trim (and optionally doors or built-ins) in one single shade so the space reads as one continuous envelope of color.
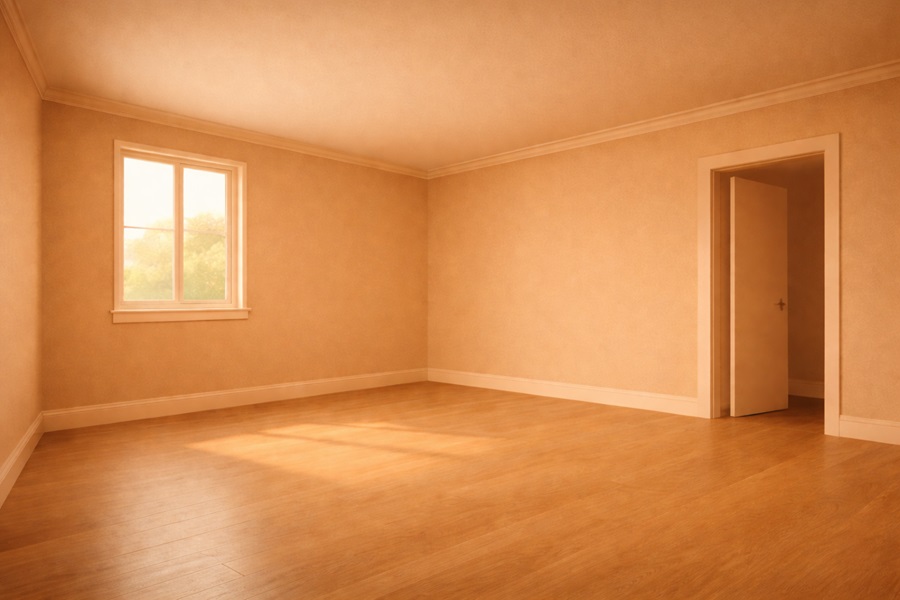
What “color drenching” means in interior painting
Color drenching means using the same paint color on the room’s main surfaces—walls, woodwork, and ceiling—to remove strong contrast lines and create a cohesive look.
Rooms that benefit most from an all-over color
Color drenching works especially well in narrow hallways, small rooms, and spaces with awkward angles because carrying one shade across edges reduces visual breaks and makes the room feel more unified.
Choosing the paint color and undertone
Choosing the paint color first matters because lighting and surrounding materials change how that exact shade reads once it covers multiple surfaces.
Test the color in 3 conditions before committing: morning daylight, midday light, and evening lamplight.
How light and dark shades change the feel of the space
Light and mid tones reflect more light than dark tones, while dark tones absorb more light and create a more enclosed “cocoon” effect.
Paint sheen choices for walls, ceiling, trim, and doors
Paint sheen controls how much light reflects off the surface, and higher-sheen finishes are typically more durable and easier to wipe clean.
Common interior sheens range from low shine to high shine: flat, matte, eggshell, satin, semi-gloss, and high gloss.

A simple sheen plan that keeps the color consistent
A reliable way to keep one-color continuity while matching durability to the surface is:
- Ceiling: flat or matte
- Walls: matte, eggshell, or satin
- Trim and doors: semi-gloss or high gloss
Match the same color code across different paint products
Matching the same color formula across wall paint and trim/door paint keeps the shade consistent while each product fits its surface.
Tinted primer on patches, raw wood, and stains reduces uneven absorption that shows up as dull or blotchy areas.
Surface preparation for a smooth, even finish
Surface prep is critical because one color across many surfaces makes dents, gaps, and patchiness easier to notice.
Complete these 6 prep tasks before painting:
- Remove switch plates, vents, and hardware where possible
- Clean greasy or dusty areas and let them dry
- Fill holes and cracks, then sand repairs flush
- Caulk gaps at trim and casing for continuous lines
- Spot-prime repairs and stains
- Protect floors and mask edges you will not paint

Best painting order: ceiling first, then walls, then trim
Painting in a top-to-bottom order prevents drips from ruining finished work and keeps edges cleaner.
Step-by-step: painting a room in one continuous color
Follow this order to keep the finish consistent and reduce touch-ups:
- Cut in and roll the ceiling
- Paint the walls, keeping a wet edge to avoid lap marks
- Apply coat 2 after coat 1 dries (use the paint label for exact recoat time)
- Paint baseboards, casings, and crown the same color
- Paint doors and door frames the same color
- Paint built-ins or radiators if you want a full “envelope” effect
- Remove painter’s tape cleanly after the paint dries
- Ventilate the room while the paint dries and cures
Color drenching details that make it look intentional
A finished all-over look comes from including the fixed elements that create outlines and breaks.
For a complete result, carry the same color onto these 6 items:
- Baseboards
- Door casings
- Window trim
- Doors
- Built-in shelving
- Radiators
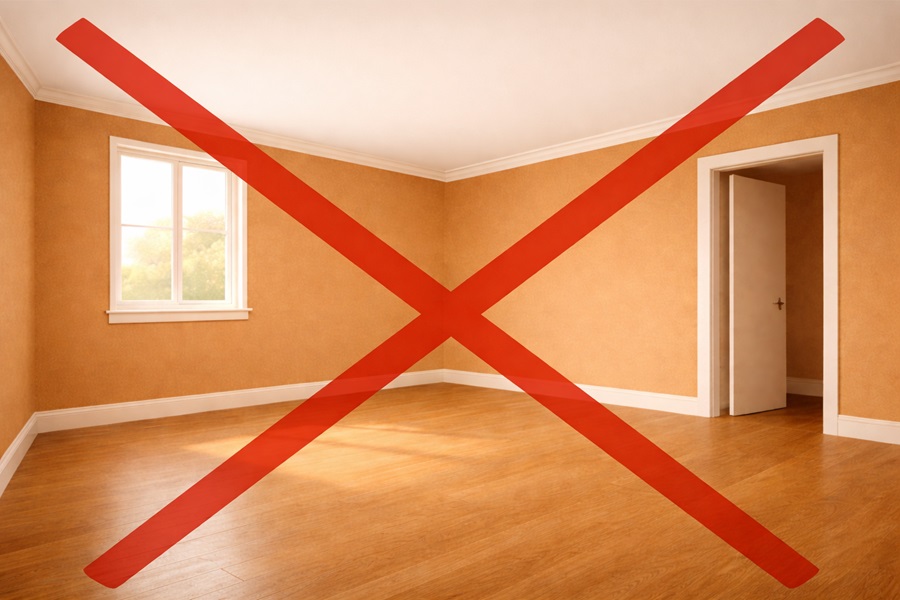
Common color drenching mistakes that break the effect
Most problems come from strong contrast lines, skipped prep, or sheen choices that highlight flaws.
Avoid these 6 issues:
- Leaving bright white ceilings or trim, which reintroduces harsh edges
- Using different “similar” whites on different surfaces
- Skipping primer on patches, which creates dull spots
- Using high gloss on large imperfect walls, which highlights defects
- Painting over dust or grease, which reduces adhesion
- Ignoring nighttime lighting, because bulbs change how paint reads
Pre-paint checklist for a clean, seamless result
A clean outcome comes from one tested color, correct sheen selection, and consistent prep from ceiling to trim.
Confirm these 5 items before you start:
- One color tested in 3 lighting conditions
- Plan for 2 coats on ceiling and walls
- Trim/door paint selected for durability
- Primer ready for patches and stains
- Repairs, sanding, caulk, and cleaning completed
FAQs about painting walls, trim, and ceiling the same color
Is color drenching the same as painting an accent wall?
No, color drenching uses one color across the room’s main surfaces, not one wall.
Does an all-over color include the ceiling?
Yes, including the ceiling removes the wall-to-ceiling contrast line that interrupts the “envelope” effect.
Can you use the same paint finish on every surface?
Yes, one finish everywhere creates uniform light reflection, and multiple finishes keep the shade consistent while adding durability on trim and doors.
Leave a Reply